In this post, I’m going to give you 10 tips to help you take the best photos of your own newborn baby!
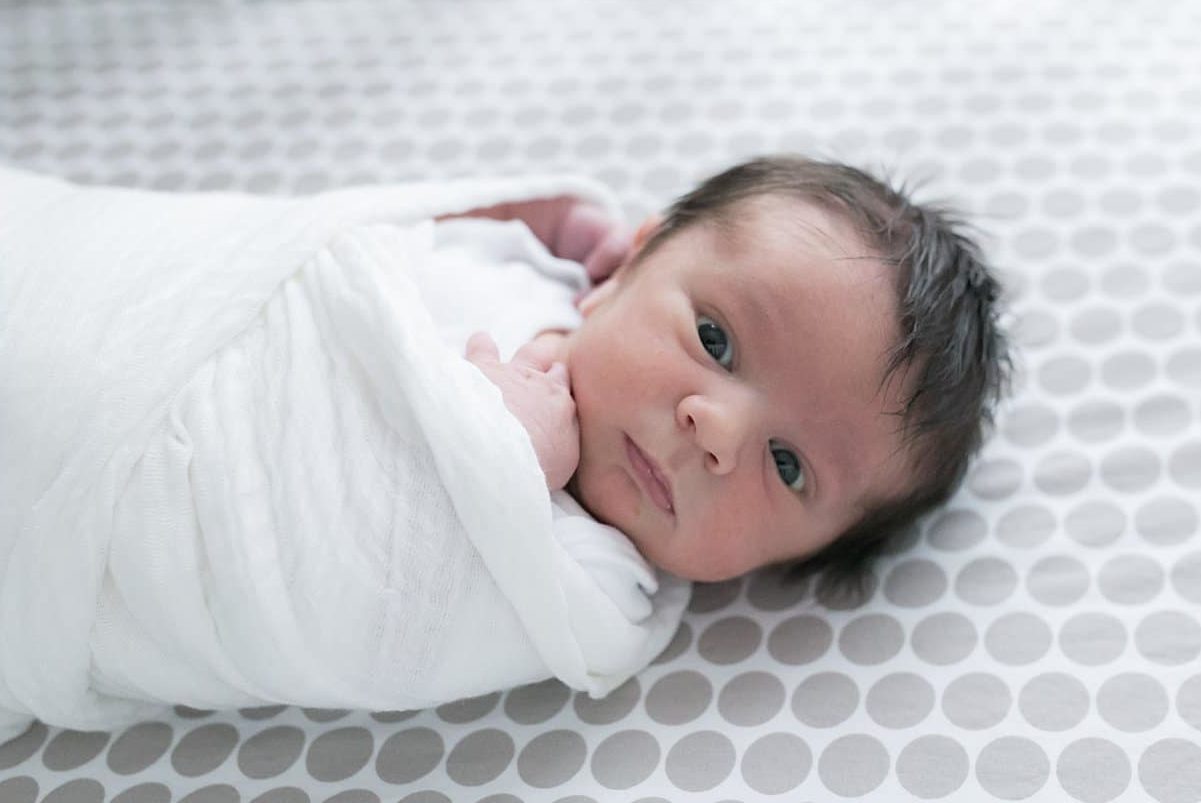
First, I feel like I have to start by saying that obviously, I think you should 100% most definitely hire a professional photographer to take pictures of your precious new bundle of joy! Even as a photographer, I really regret not hiring someone to take newborn photos for me! If only to get me IN THE PHOTOS with my baby!
If you’re in the Pittsburgh or Youngstown areas then I happen to know of a pretty awesome newborn photographer that could do this for you! 😉
However, even if you hire a photographer, I know most parents are still going to take a million photos of their new baby so I’m happy to give you some pointers to help you make the best photos!
I know you’re thinking, but how hard can it be? Babies just sleep and lay there!? Well, if you’re expecting your first baby, you’re going to find out that it is harder than you think!
I’m not going to get into the technical information about camera gear or settings because I think most people have some pretty good cell phones they can use as their camera, but I’m going to give you some other practical tips to make some great photos!
1. Take it Easy
Pace yourself! Although babies grow fast, remember that you can try to get photos every day that you feel up to it for the first few weeks (and even months) that they are home! But please remember that you JUST had a baby so do not overdo it! And you should probably wait at least a week or two before trying too much!
2. Safety First
It would be irresponsible of me to not mention safety! As a newborn photographer that has photographed hundreds of babies over the last 12+ years, the safety of the baby is my top priority! So common sense things like, do not leave baby unattended laying on a bed or couch or do not lay baby face down in a pile of fluffy blankets. (best to keep baby on their back) Have someone help you to”spot” the baby while you take the pictures.
The safest place to photograph baby is right on the floor. Lay them right on a cute rug in the nursery or lay baby on top of some of your favorite blankets!
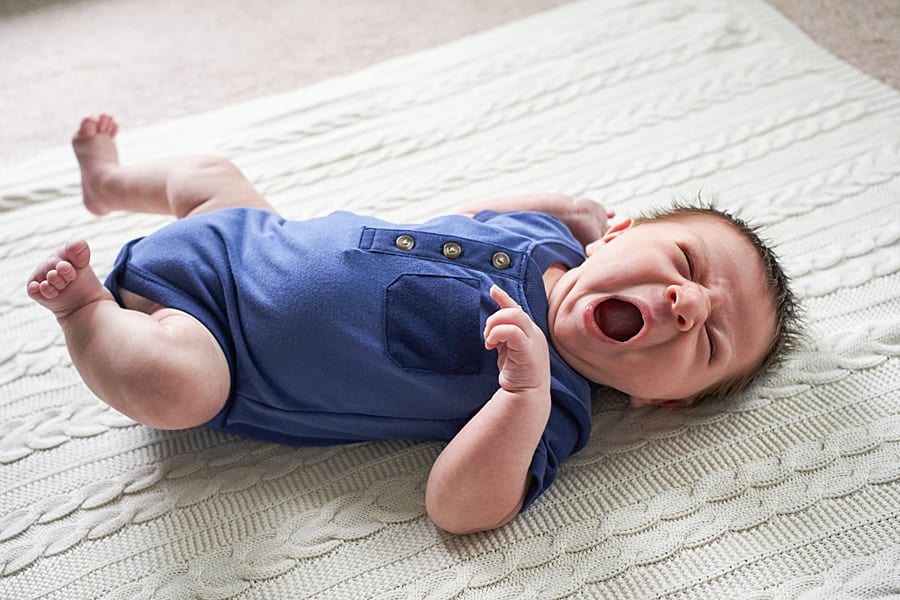
3. Prepare the Area First
Pick an area or two of your home that gets a good bit of natural light (avoid direct sunlight) and clear that area of any clutter. Open the blinds and curtains all the way to let all of that lovely natural light in. Living rooms, bedrooms, and the nursery are usually ideal places to take photos.
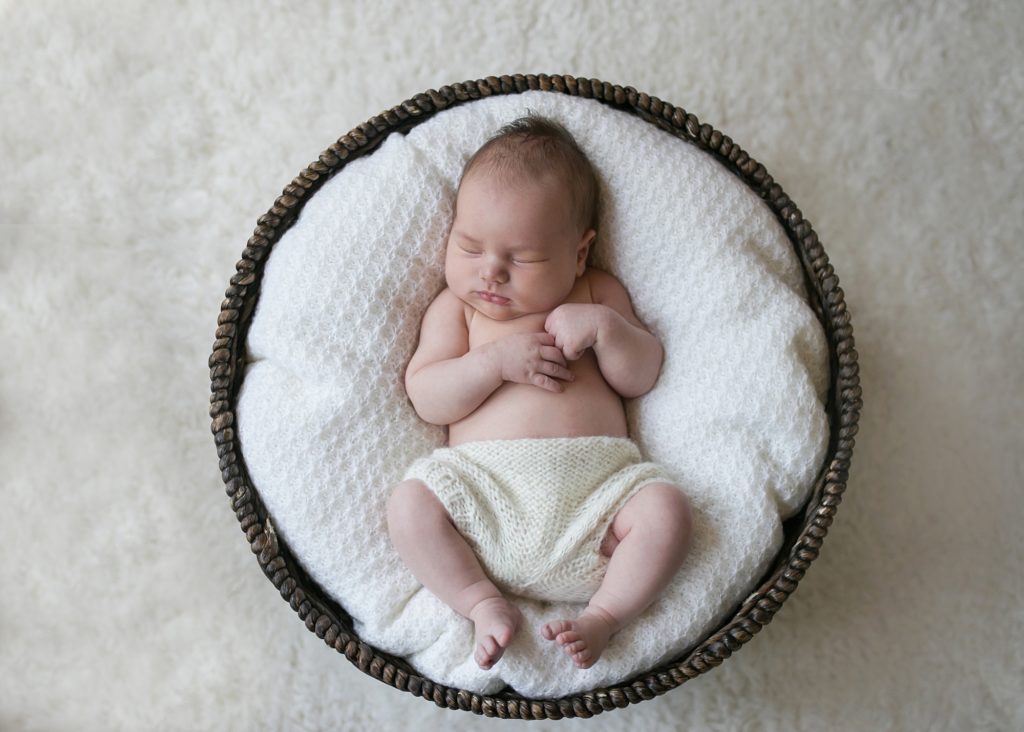
Some ideas for where to photograph the baby are on a bed, couch, in a crib or cradle, and on the floor. You can use a boppy or pillow covered in a blanket or two to lay the baby on. And you can use a large basket padded with a pillow and blankets.
Turn your heat up to make the house nice and cozy and use a white noise machine or an app on your phone, this usually will help baby sleep better.
4. Prepare the Baby
First, dress the baby in the outfit that you want to photograph them in then put a bib on the baby. (take the bib off before photos) For clothing, I recommend keeping it simple! Pick a favorite sleeper or onesie and avoid any fussy dresses or outfits. Newborns tend to get lost in some fancier outfits.
Or just leave the baby in a diaper and swaddle them in your favorite blanket!
Next, make sure the baby is fed and filled up and be sure to also burp them!
After the baby is “milk drunk”, rock/walk/bounce the baby until they are sleeping, then when you think they are in a deep sleep, wait another 10 minutes because they are tricking you and really not in a deep sleep.
Although I LOVE photography babies when they are awake, it’s not always easy. Usually, they move a bit and flail their arms around so it is easier to swaddle them if they are awake.
5. It’s All About the Light!
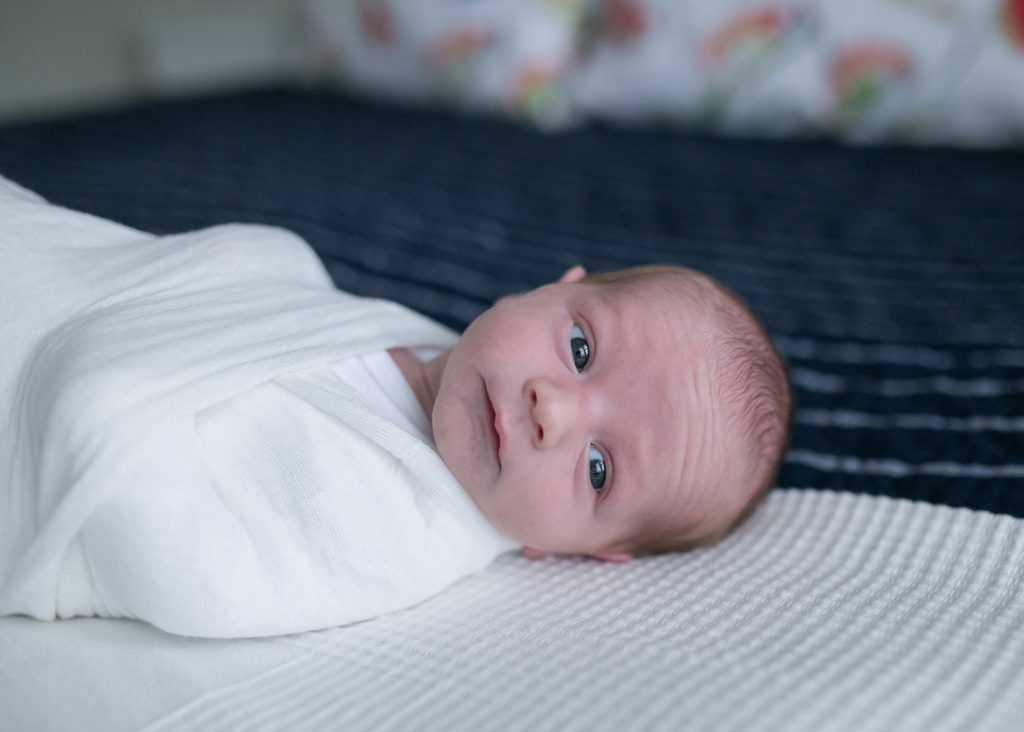
Choose a time of day when you get a lot of great natural light in your home. Mornings and early afternoons are the best times for great light. But as I mentioned above avoid direct light on the baby. This just can create some harsh shadows and lighting.
After you open those blinds and curtains, turn off the lamps and overhead lights. These will often create shadows and add a weird color cast to your images.
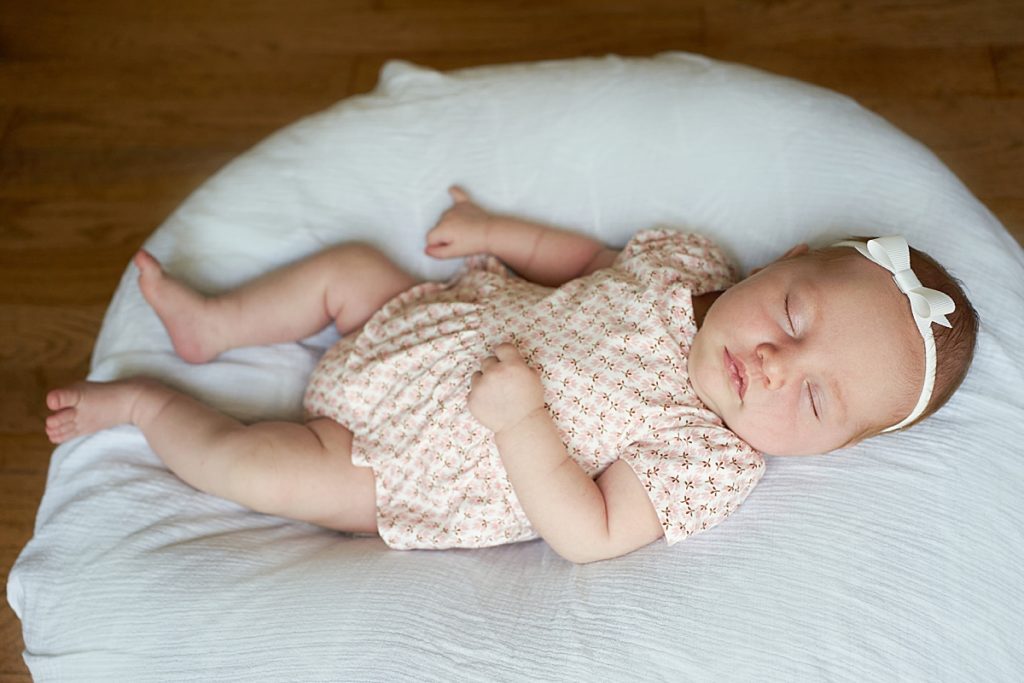
Get close to the windows and utilize the light! If you are photographing baby on the floor do it close to a sliding glass door (like this image below) or a large window. You can also move a cradle or bassinet closer to the window. Be sure to have baby facing the light to avoid shadows on their face.
You will want to position yourself between the window and the baby for the best lighting. (without casting a shadow on the baby)
6. Use All the Angles
Take photos from many different angles and positions! Move all around the baby and shoot from each angle. Move in close then step back to take in more of the scene.
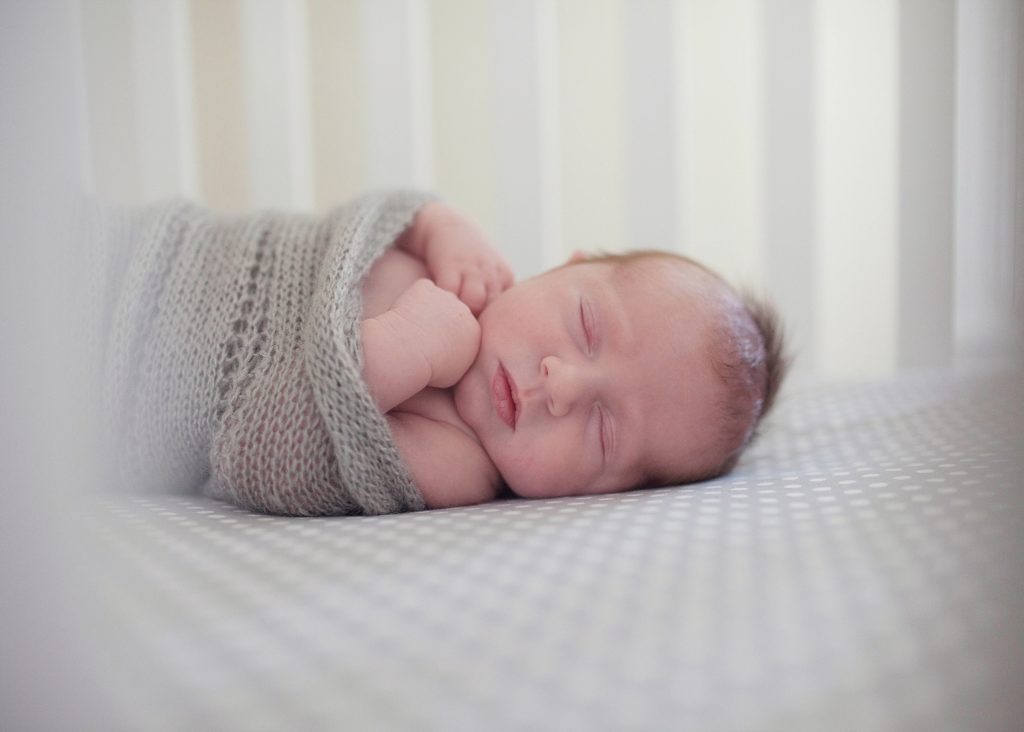
When the baby is in a bassinet or cradle try shooting from above (please be extra careful to not drop your phone or camera on the baby!). You may need a small but sturdy step-stool for this. Or get close to the rails and shoot between the rails (like this image below).
7. Get the Details
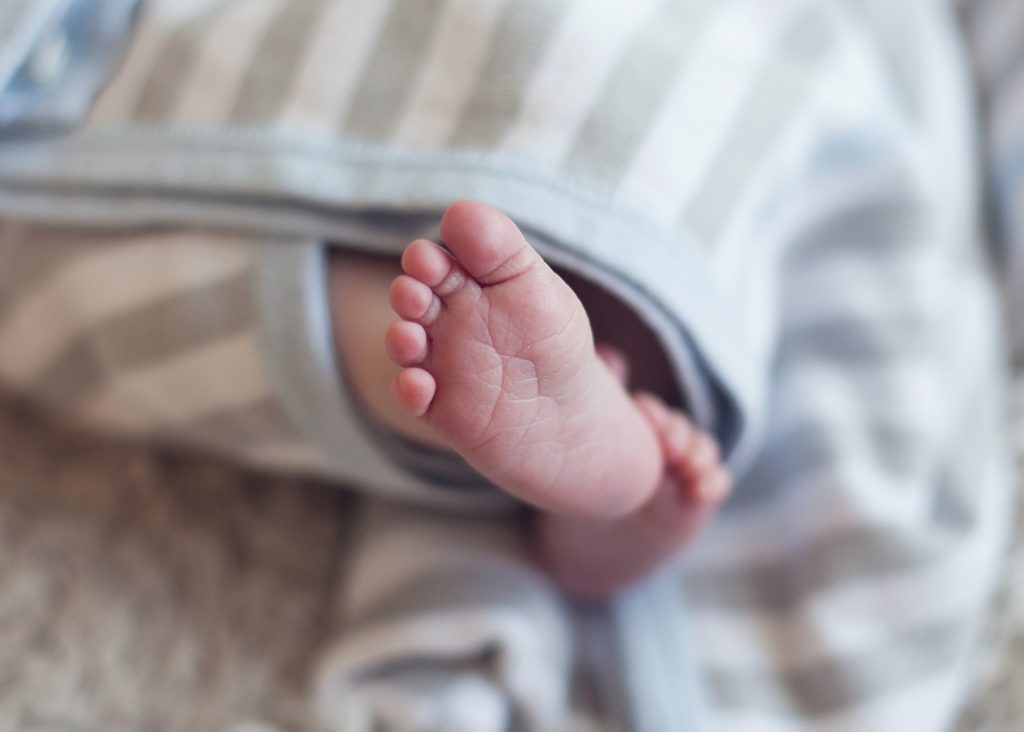
Don’t be afraid to get in close to get all of those little details! Get close-up pictures of baby’s feet, hands, ears, nose, lips, and the little swirl of hair on the back of their head!
8. Include your Other Kids and Family Members
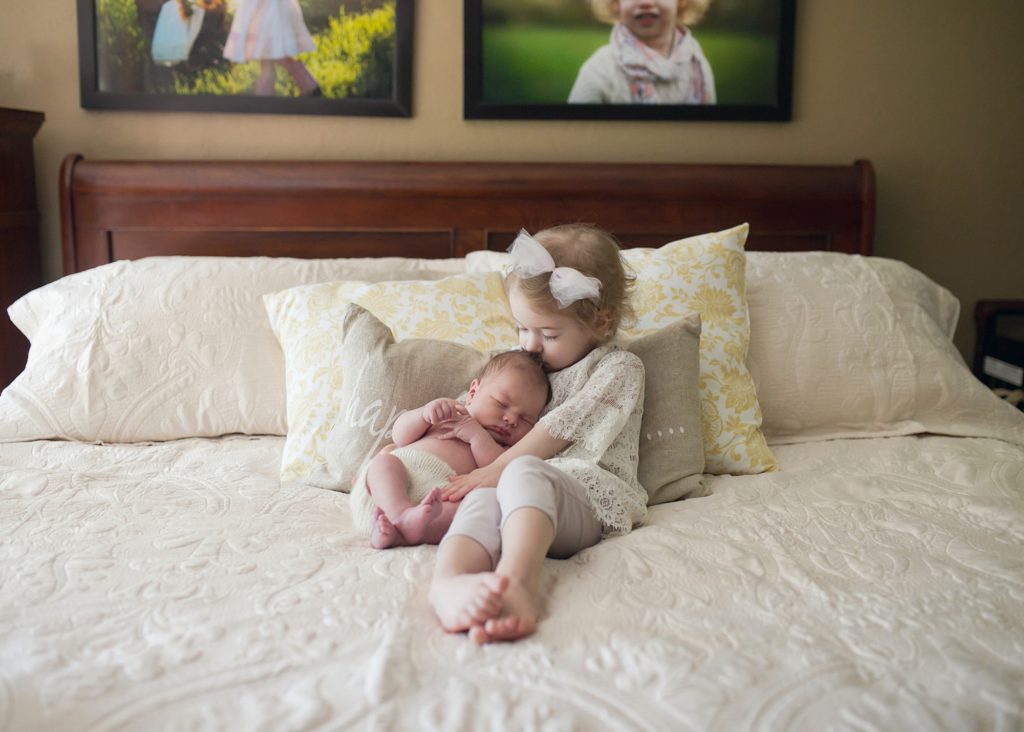
Remember to include your other children, Grandparents, Dad, and even your fur-baby in the photos! When photographing your baby with their siblings, it’s definitely helpful to have someone there to help you and to make sure the baby is safe (especially around toddlers and small children and most especially around pets)
When photographing baby with a younger child, it’s best to lay them both on the floor and shoot from above them. Try tricks like, “kiss the baby’s head”, “what does the baby smell like?” or “count the baby’s fingers” to get them to engage a bit with the baby,
9. Get in the Photos
I know you’re probably not going to want to, but I insist that you get in some of the photos with your precious new baby!
One of the main reasons to hire a professional newborn photographer is so YOU can be IN the photos! However, you should still try to get in your own photos as often as you can!
Have your partner, friend or family member take photos for you or get comfortable with using the timer feature on your camera or phone. Remember to face the window to get the best lighting!
I highly suggest investing in a cheap little tripod like this one to make it easier!
I promise you will treasure these images and one day and your child will too!
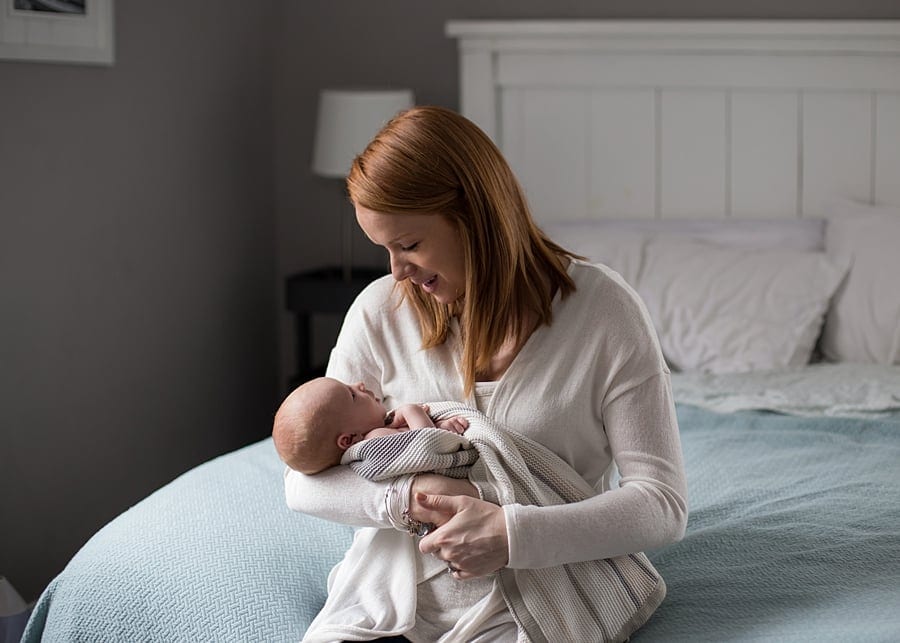
10. Print those Photos
Now, the most important part is to print your photos! Check out this blog post where I discuss the best ways to get your photos off your phone and into tangible memories that you will treasure forever!
Check out the Lightroom mobile app to edit your photos!
I wish you all the luck and remember to get in touch if you are expecting and considering hiring a professional! I look forward to hearing from you!
And please consider joining my email list!
I send emails with more tips like this!
Here are some other posts that you’ll find helpful!
Are you on Instagram?
Let’s connect over there!
~All images by Mary Beth Miller Photography ~
Mary Beth Miller Photography specializes in lifestyle and documentary family and newborn photography in Pittsburgh Pennsylvania and many of the surrounding areas. Mary Beth has over twelve years of experience. Her style is very relaxed and natural and your newborn session will feel like a relaxing afternoon hanging out at home!


What great tips for new Moms! I took so many photos of my babies and I still wish I took more! The days go too fast!
So much knowledge and great tips, you can tell you’re experienced
Fantastic tips – thanks for sharing!
Wow, Mary Beth! Your blog posts are always so informative! I love that you give tips on taking newborn photos at home. Post-Covid it’s more prevalent I’m sure!